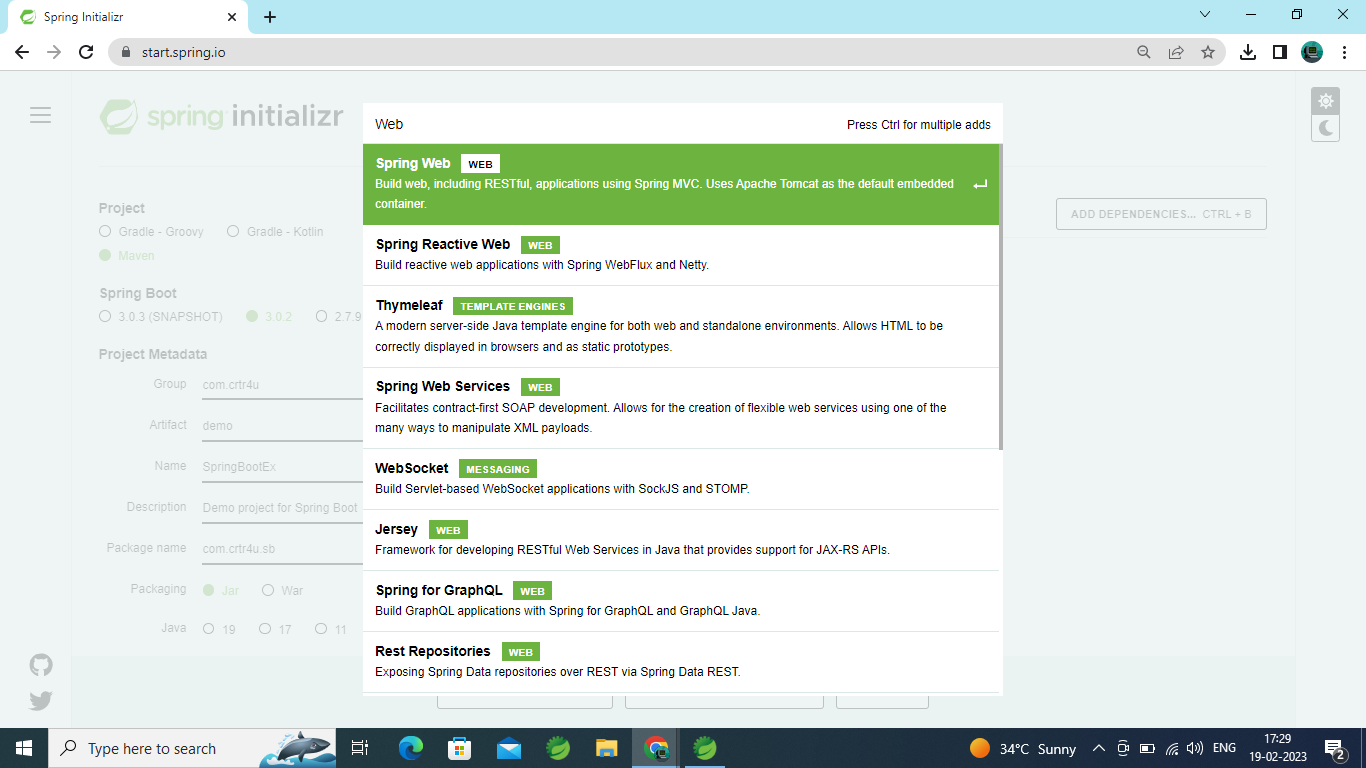
Step 1: Open Spring Tool Suite IDE and go to File-> New -> Spring Starter Project

Give Name,Type Packaging and Java Version as above as per you wish.
Step 2: Click Next and add dependencies such as : Eureka Discovery Client ,Eureka Server, Devtools,Actuator,Spring Web etc. as below :
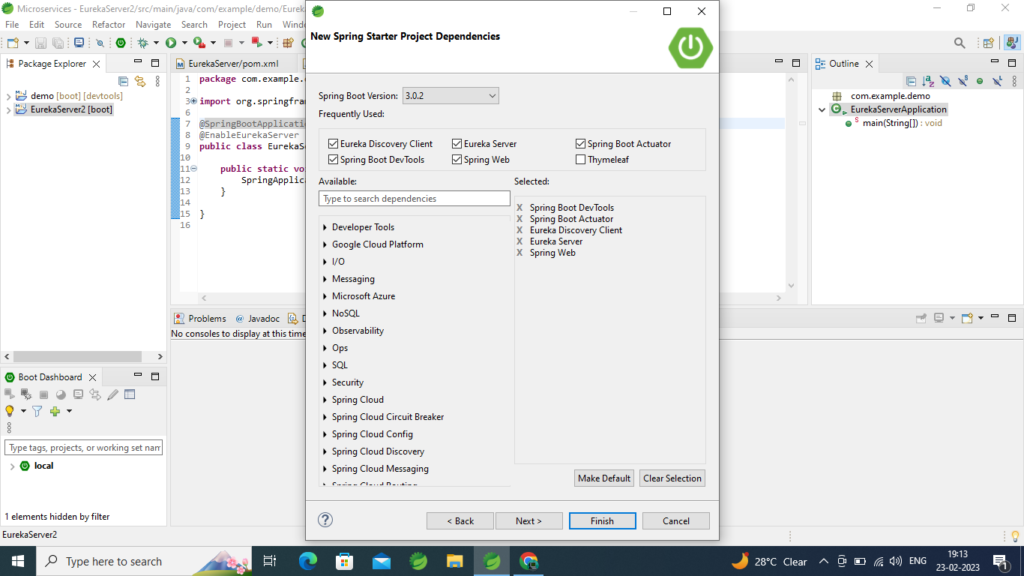
Step 3: click finish , you need good internet connection , it will download jars automatically.
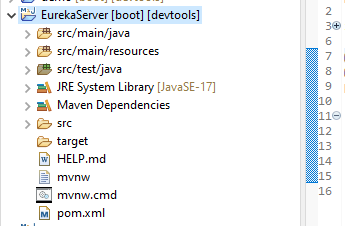
Step 4: This is how your project structure will look like in Package Explorer window :
Step 5: Main Dependencies added in pom.xml file are as below :
        org.springframework.boot
        spring-boot-starter-actuator


        org.springframework.boot
        spring-boot-starter-web


        org.springframework.cloud
        spring-cloud-starter-netflix-eureka-client


        org.springframework.cloud
        spring-cloud-starter-netflix-eureka-server
Step 6: Add below properties in Application.properties file
server.port=8082
eureka.instance.hostname=localhost
eureka.client.fetch-registry=false
eureka.client.register-with-eureka=false
Step 7: Add @EnableEurekaServer annotation in main file as below :

Step 8: right click and run as Spring Boot App as below :

Step 9: In console it display message as Stated Eureka Server

Step 10: check URL in Browser http://localhost:8082/

Thanks For Reading
Happy Learning
Leave a Reply