What is Keycloak ?
Keycloak is an open-source identity and access management (IAM) solution developed by Red Hat. It provides features such as single sign-on (SSO), authentication, authorization, and user account management. Keycloak allows organizations to secure their applications and services by centralizing user authentication and authorization.
Keycloak supports various authentication methods, including username and password, social identity providers (such as Google or Facebook), and multi-factor authentication. It also provides features for managing user roles, permissions, and groups, allowing administrators to define and enforce access control policies.
Some key features of Keycloak include:
1. Single Sign-On (SSO): Users can log in once and gain access to multiple applications without having to log in again.
2. User Federation: Integration with external identity sources like LDAP, Active Directory, or other user repositories.
3. Social Login: Users can log in using their social media accounts.
4. Multi-Factor Authentication (MFA): Additional layers of security beyond just a username and password.
5. Client Adapters: Support for integrating Keycloak with various programming languages and frameworks.
6. User Self-Service: Users can manage their own profiles, reset passwords, and perform other self-service actions.
7. Role-Based Access Control (RBAC): Fine-grained control over user access based on roles and permissions.
Keycloak is commonly used in enterprise environments to enhance the security and manageability of applications by providing a centralized and standardized identity and access management system. It can be deployed on-premises or in the cloud and is often utilized in conjunction with other Red Hat technologies and solutions.
Learn To Install Keycloak Step By Step On Windows :
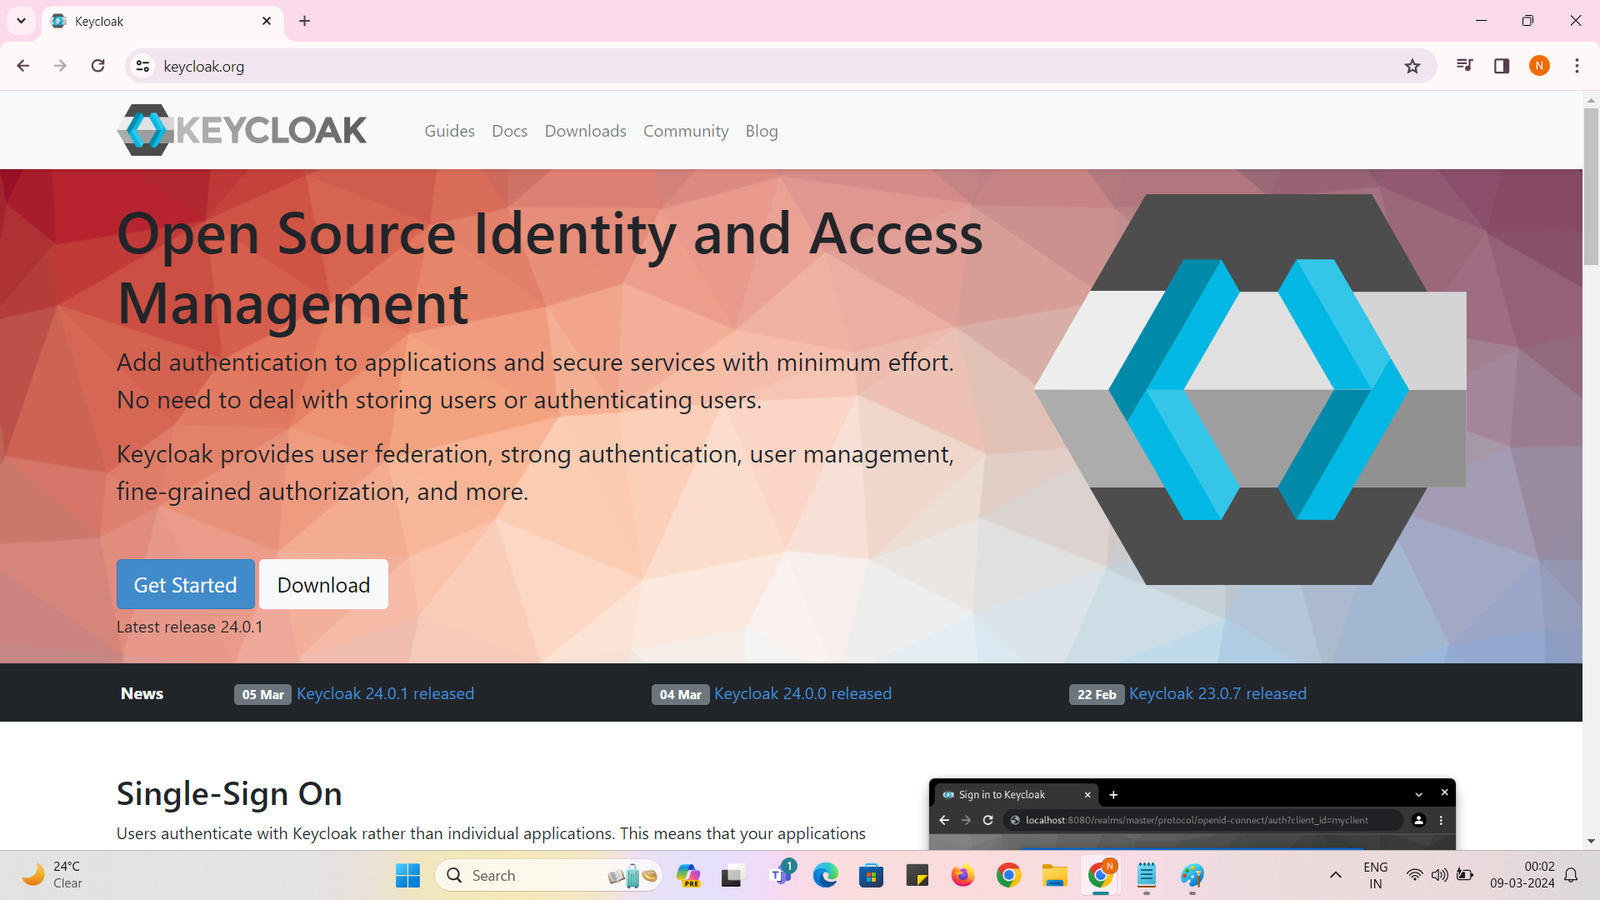
Step 1: visit official website : https://www.keycloak.org

Step 2 : click on Downloads and then download ZIP as below :

Step 3 : once you click on ZIP(sha1) option , it will automatically start downloading ZIP File as below :

Step 4 : Once downloaded ZIP folder –> Right Click and UNZIP or Extract All To Some location , here i am extracting Zip to C Drive as below :
C:\keycloak-24.0.1

Step 5 : go to bin folder :
C:\keycloak-24.0.1\bin
now open the command prompt in bin folder : and run command as : kc.bat start-dev
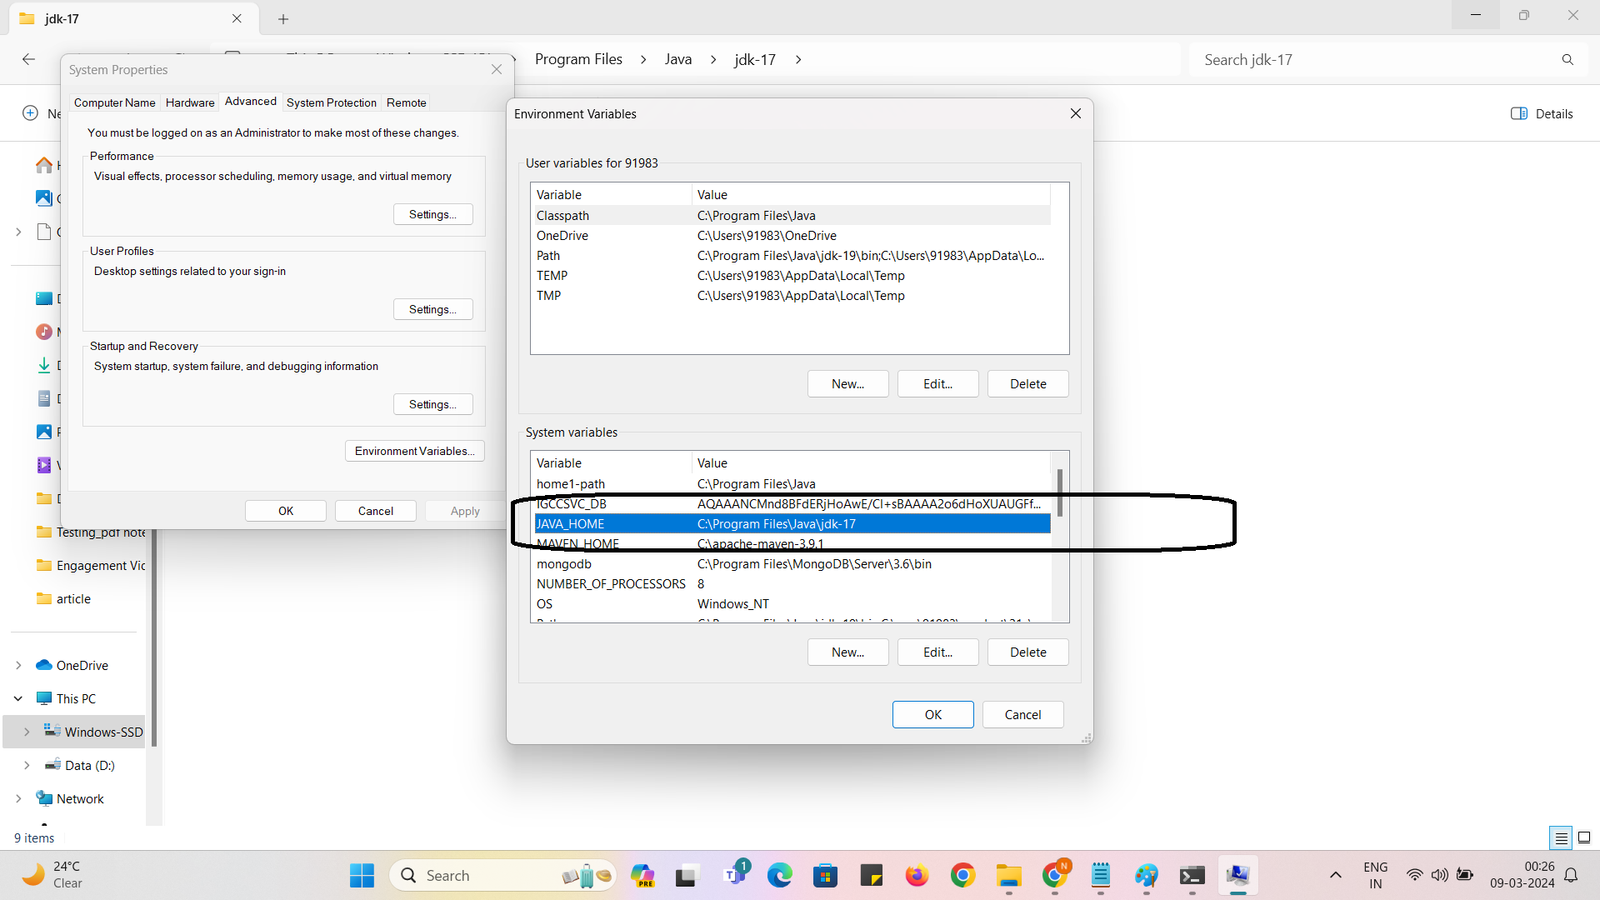
and if you get below error then its may be because of old JDK version set in JAVA_HOME path

Step 6: To Fix above error : try to set JDK 9 or 9 plus version’s path as JAVA_HOME path in Windows Environment Variables , here i am setting JDK 17 path ,because in my laptop i have installed JDK 17:
Step 7 : once done setting JAVA_HOME path of latest JDK 17 as above :
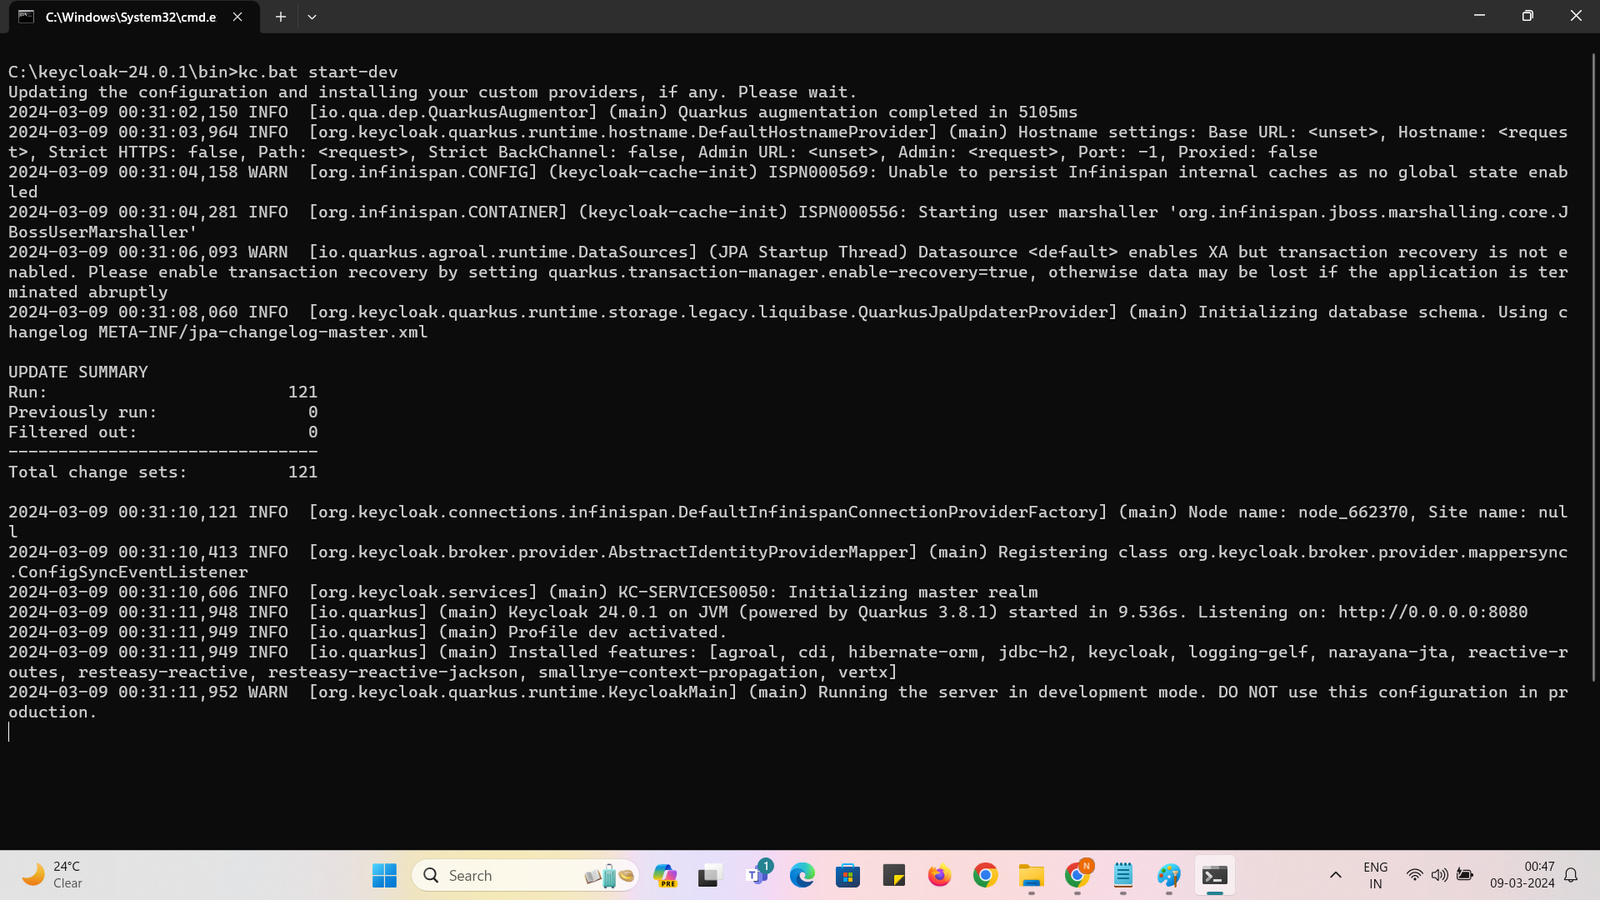
again open command prompt in location of bin folder : C:\keycloak-24.0.1\bin
and execute command as kc.bat start-dev as below :
for Production Mode command is kc.bat start , but here we are not going for Production mode , here will run only in DEV mode for this chapter.
Step 8 : here if you check on above console , Keycloak server now started on PORT 8080 , now we can go to browser and visit
URL : http://localhost:8080
as below we can see initial screen as below :
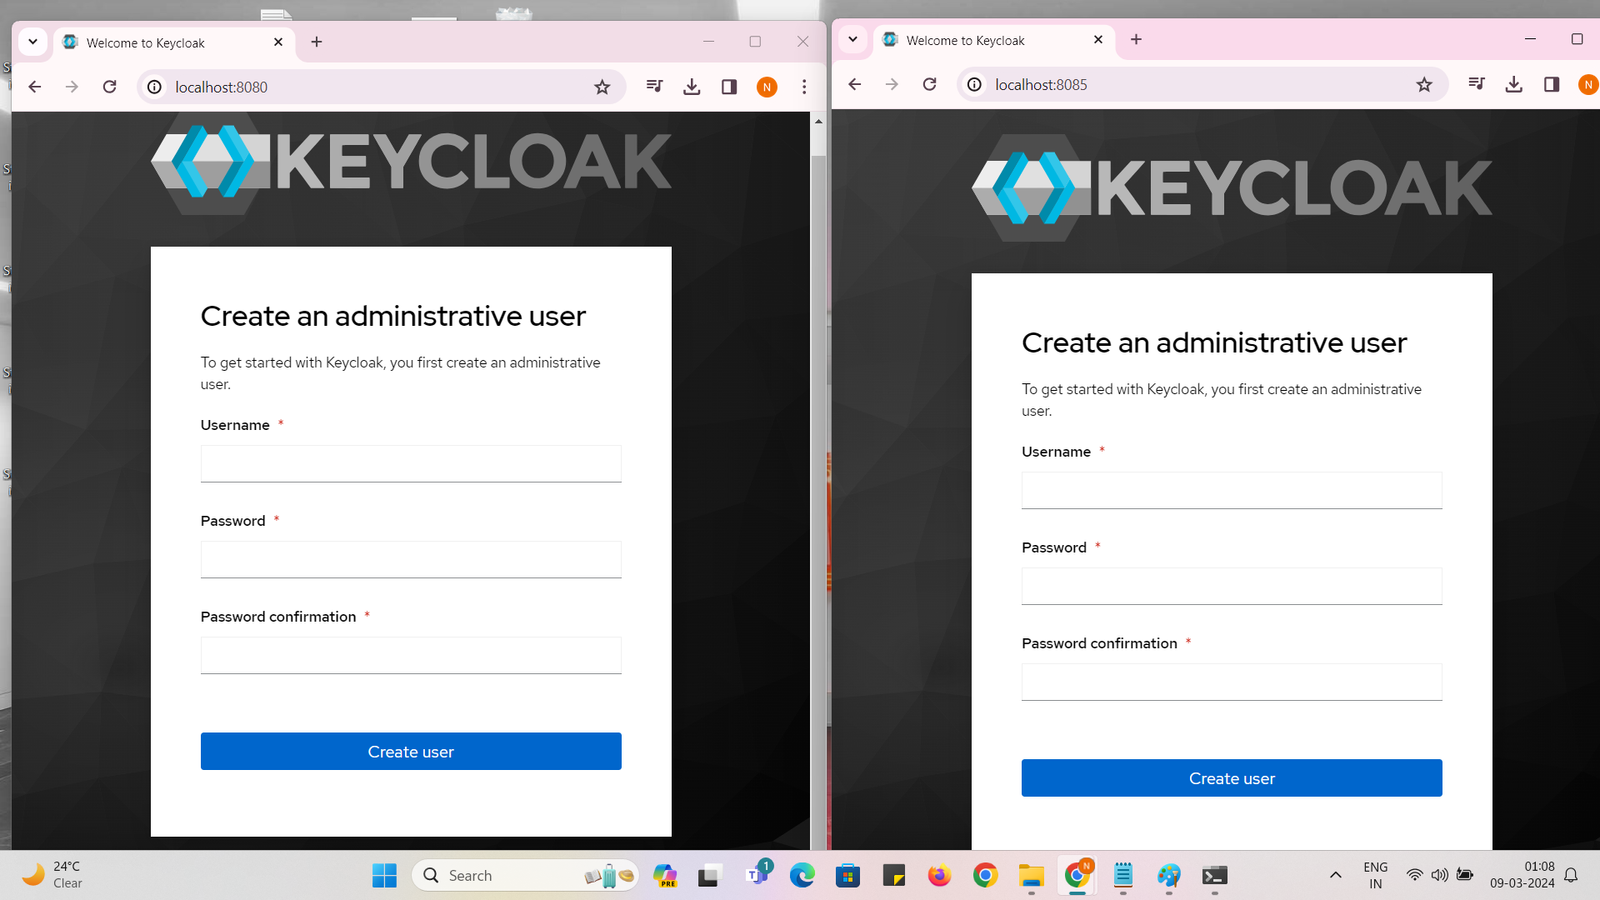
Step 9: If You want to start on another port number too then you can execute command as : kc.bat start-dev –http-port=8085
Example :
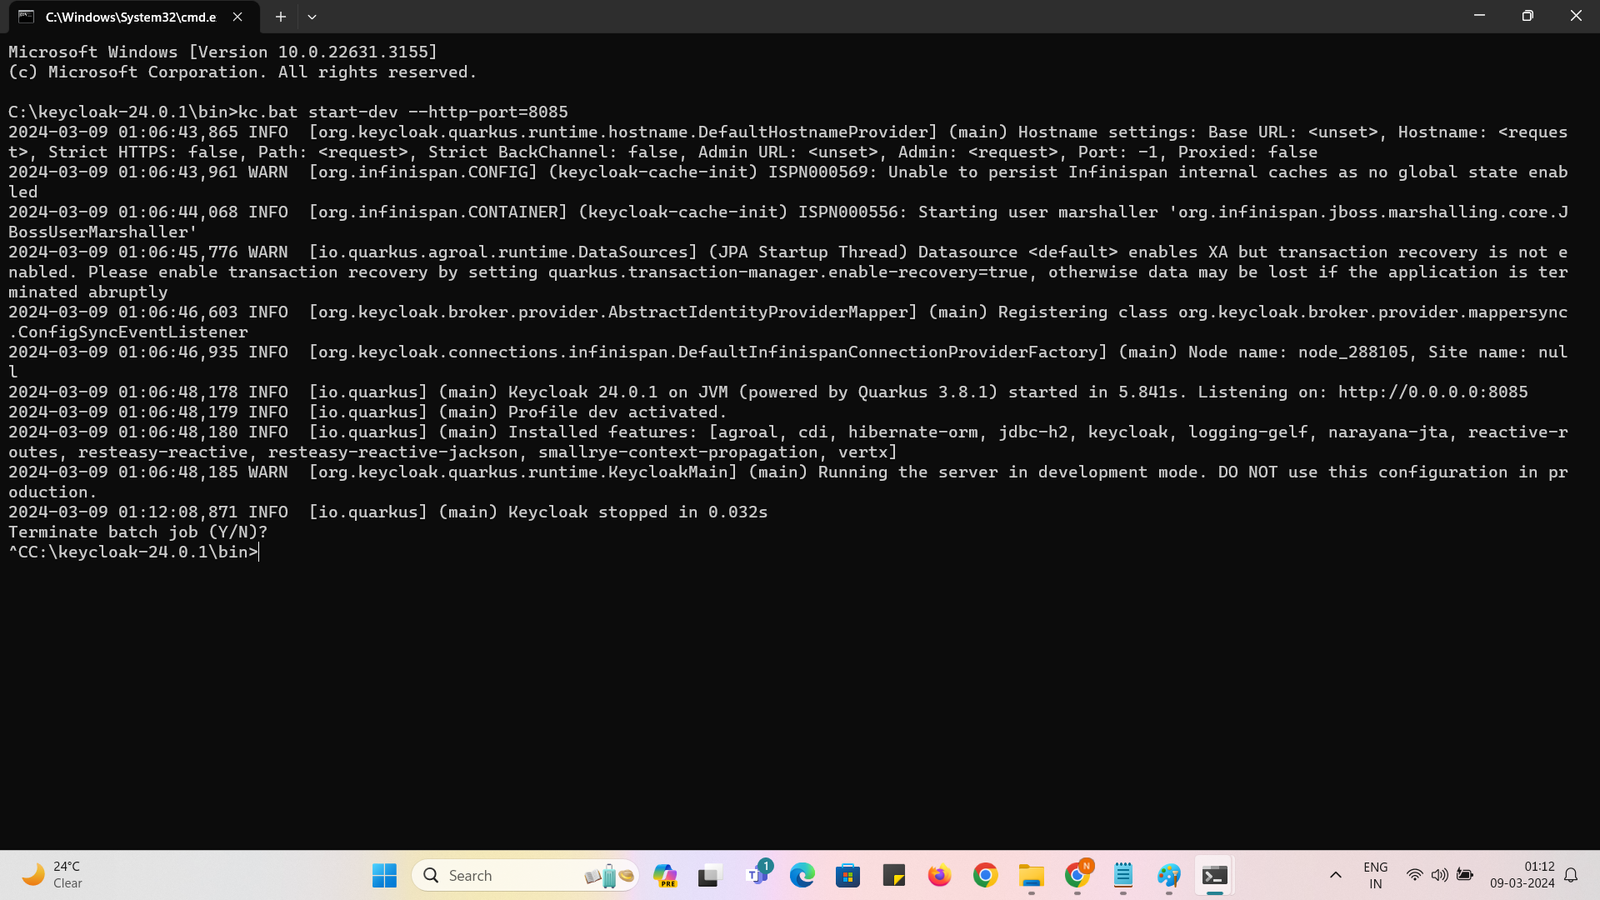
C:\keycloak-24.0.1\bin>kc.bat start-dev –http-port=8085
now if you check below , i started two instances of same server on different ports :8080 and 8085
Step 10 : to stop any one of them open command prompt console and press CONTROL+C on keyboard , it will stop server as below :
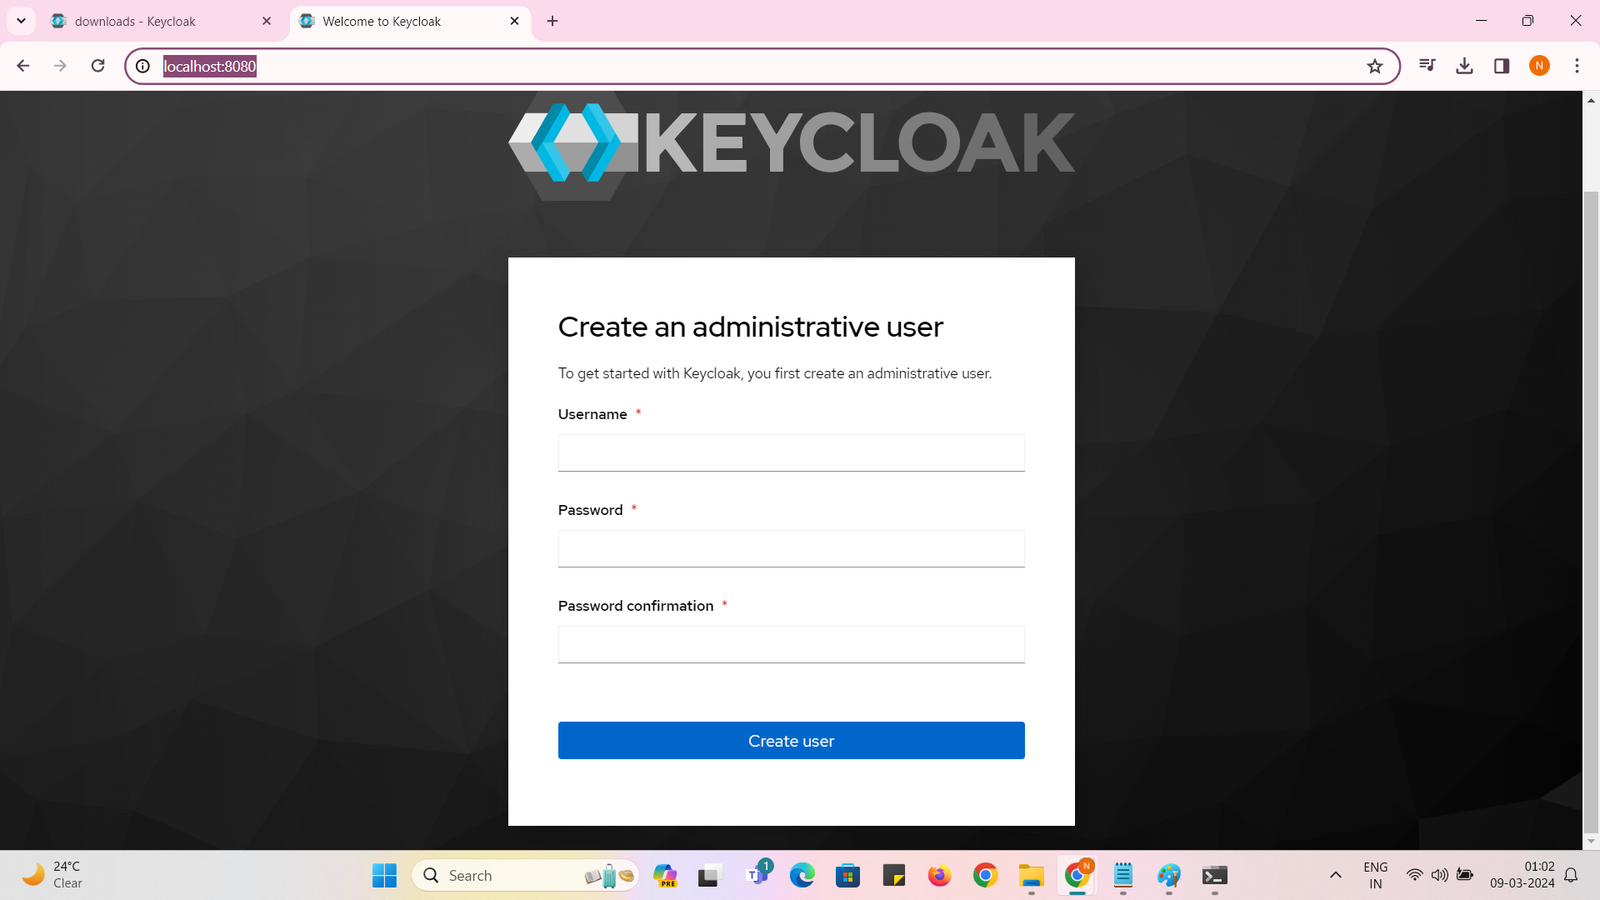
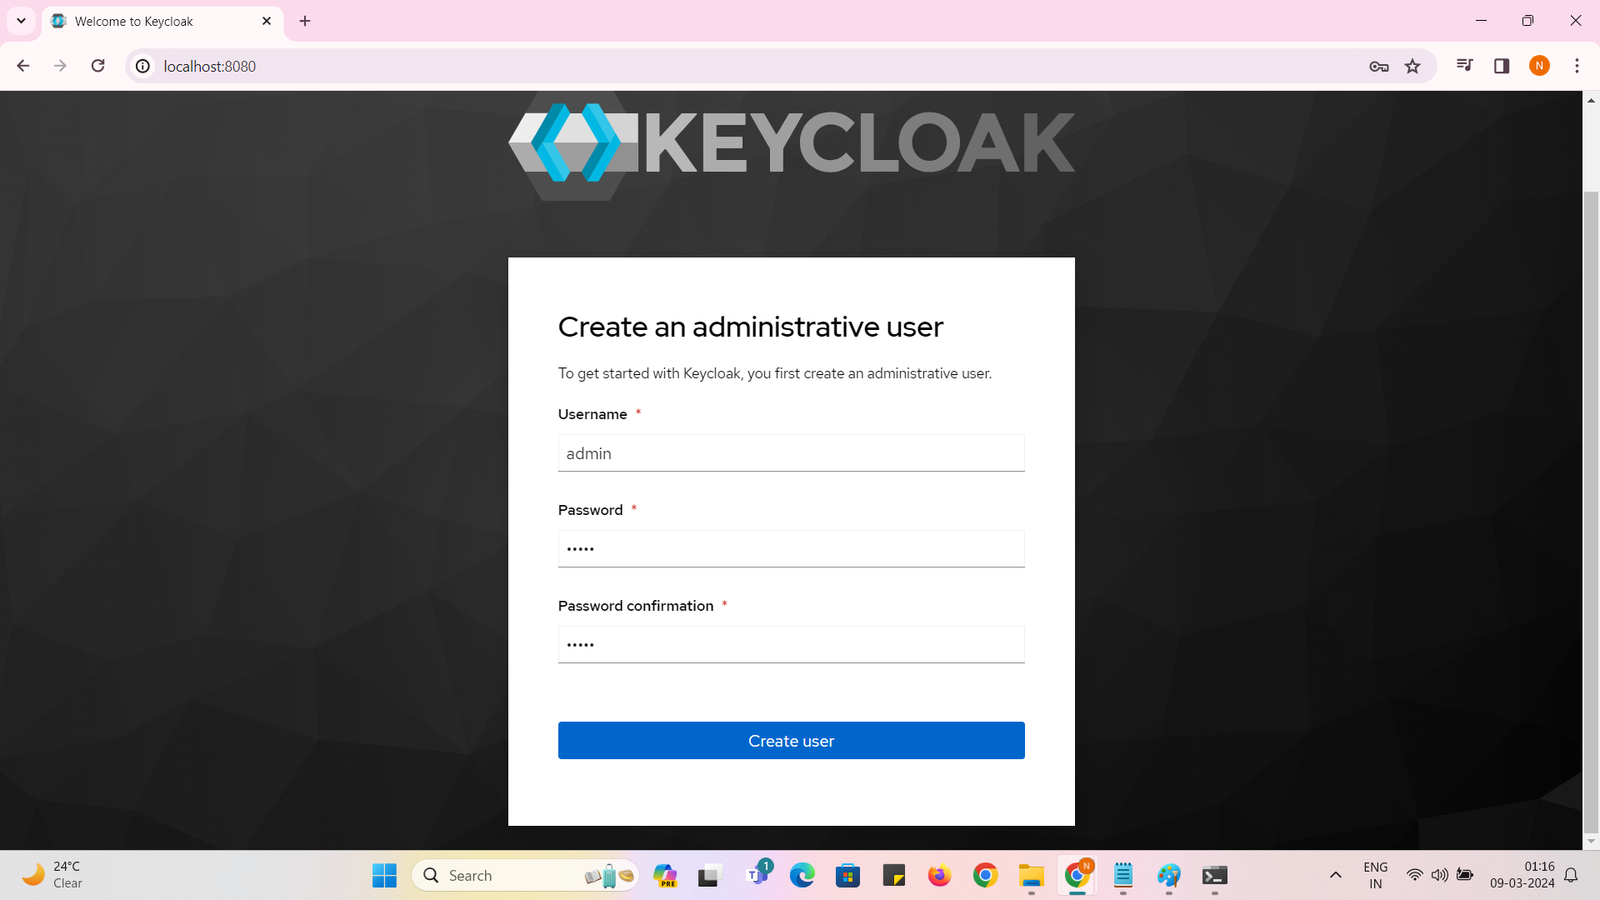
Step 11 : To Login Into the server , we need to create admin user first time as below : you can give any username and password as per your choice :
Step 12 :
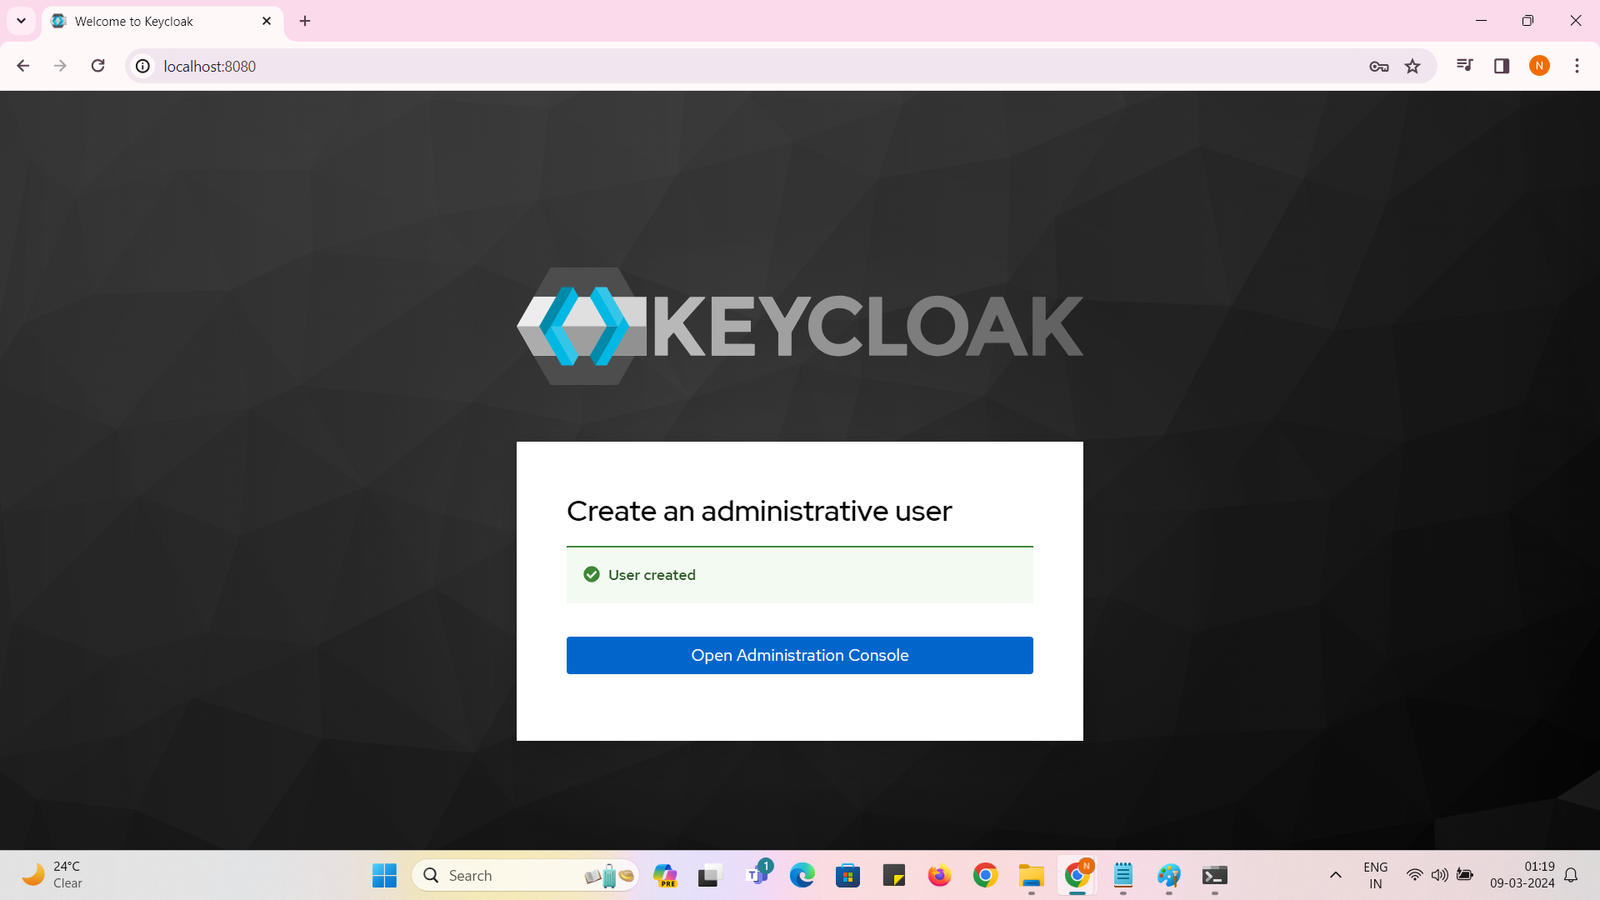
Step 13 : click on Open Administration Console : enter username and password and click on login :
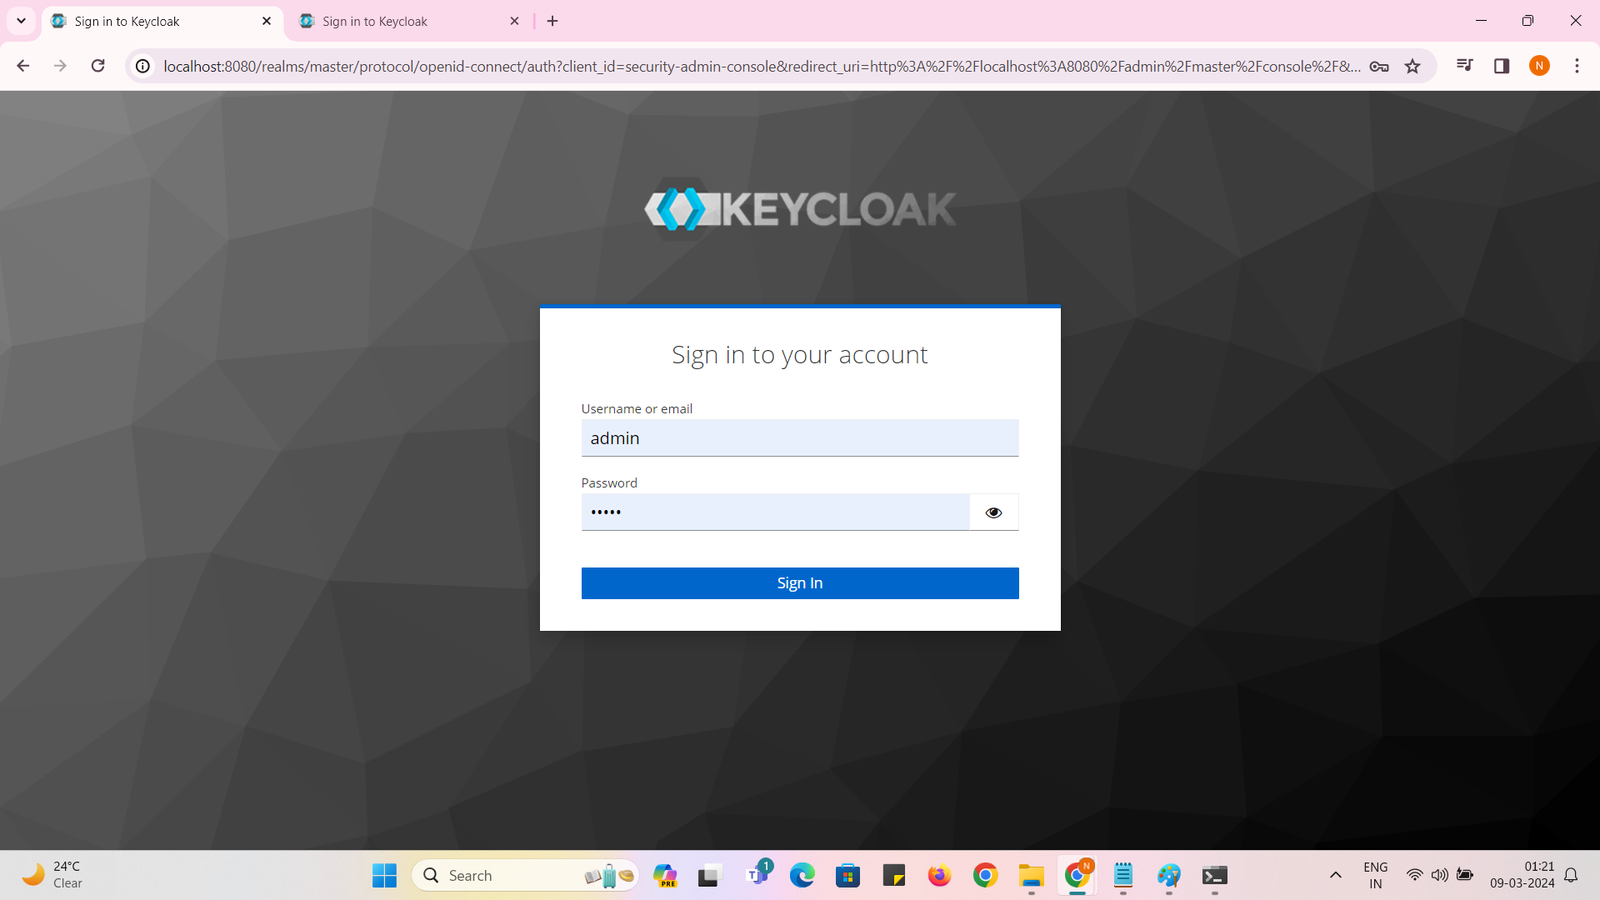
Step 14 : Sign In Successful :
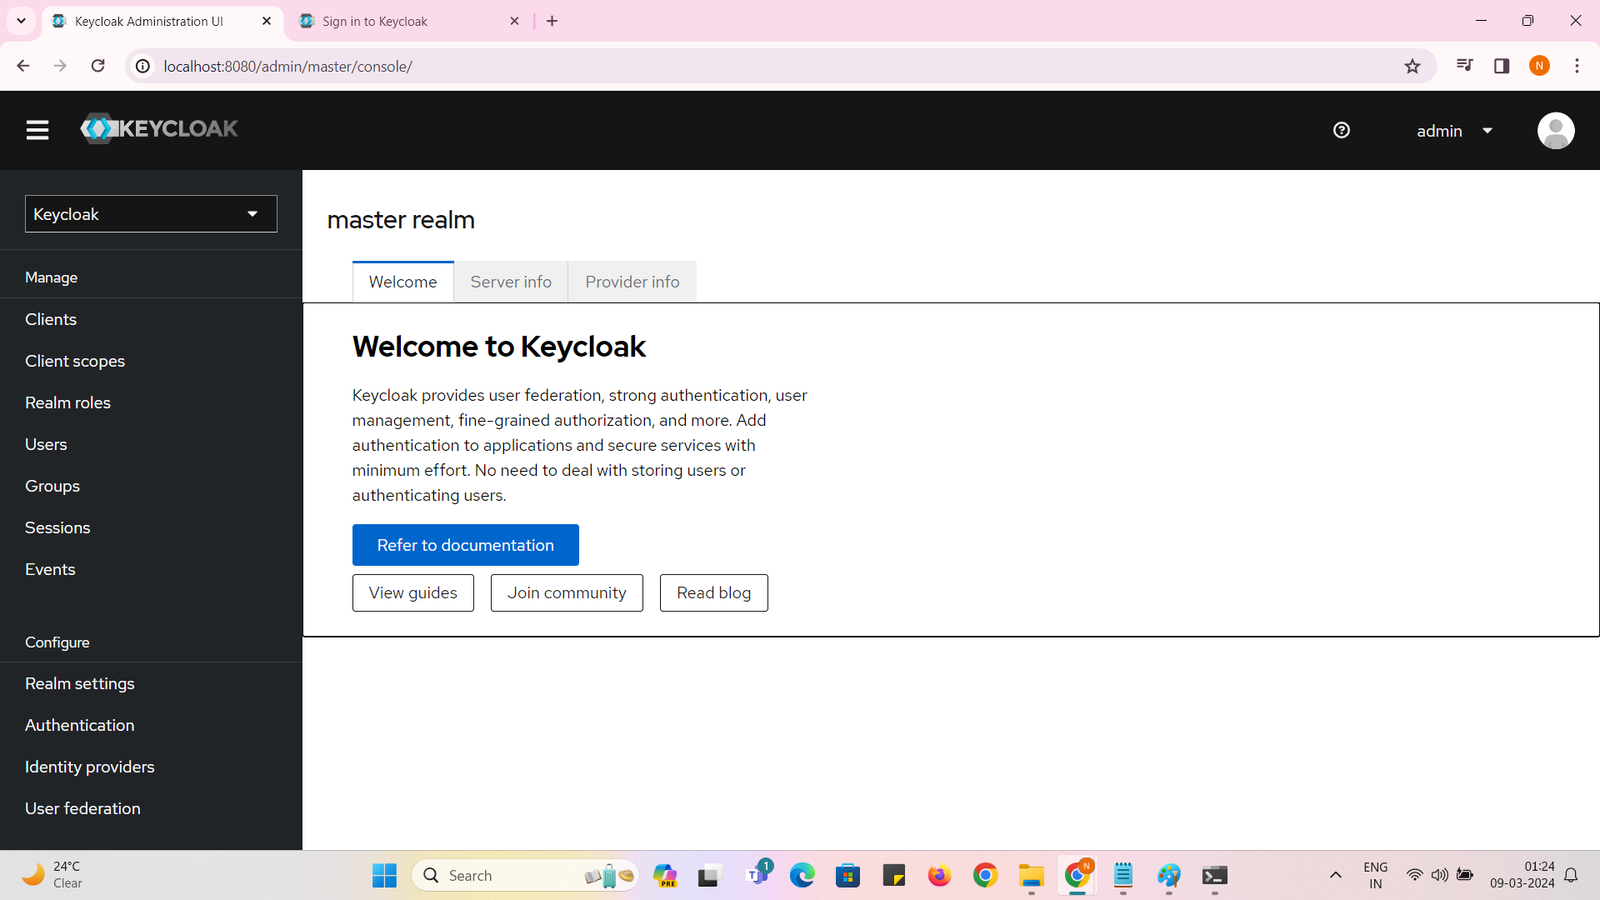
Congratulations , now you are able to login in server , if you face any issues please comment below , I will do my best to help you online .
Happy Learning,
Leave a Reply