
In this article , today we are going to understand git commands step by step :
But , if you have not installed GIT in your laptop, then please follow below video step by step to install git in your Windows Operating System :
Now once you installed git in your laptop as shown in above video then ,follow below steps :
In this article we are going to learn :
1 : how to create local git repository
2 : how to add file to it and how to staging our changes
3: how to commit our changes
Step 1: Create local GIT repository :
1.create a folder with any name for example : my-git-repos
2.now go inside folder , do right click and open git bash :
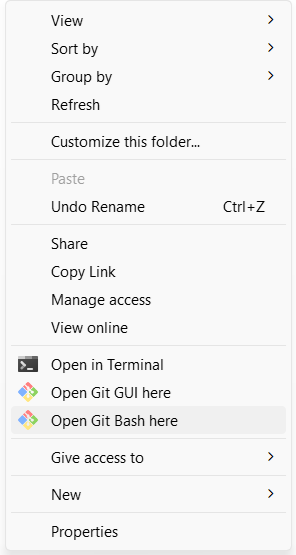
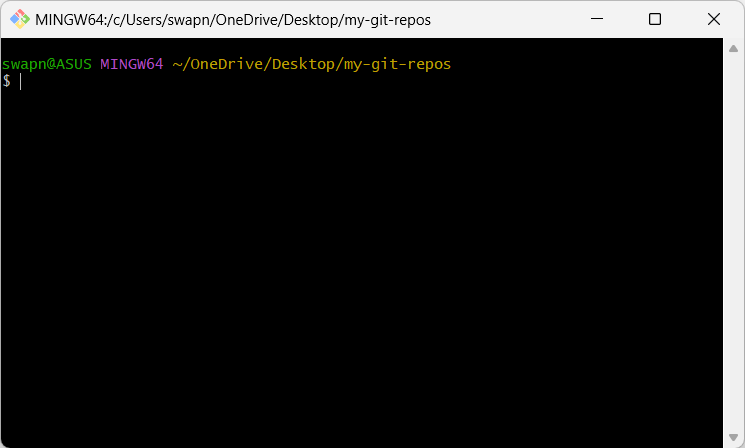
3.it will open window like this :
4. mkdir my-first-project : this command will create a new directory
cd my-first-project : using this command you can go inside newly created directory.
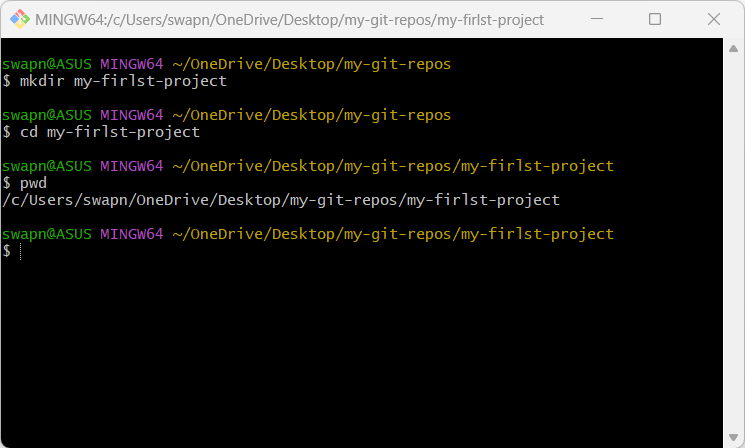
pwd : this command Print Working Directory Path
to make our directory as git repo , we have to use command : git init
$ git init

it will show message like this :
Initialized empty Git repository in C:/Users/swapn/OneDrive/Desktop/my-git-repos/my-firlst-project/.git/

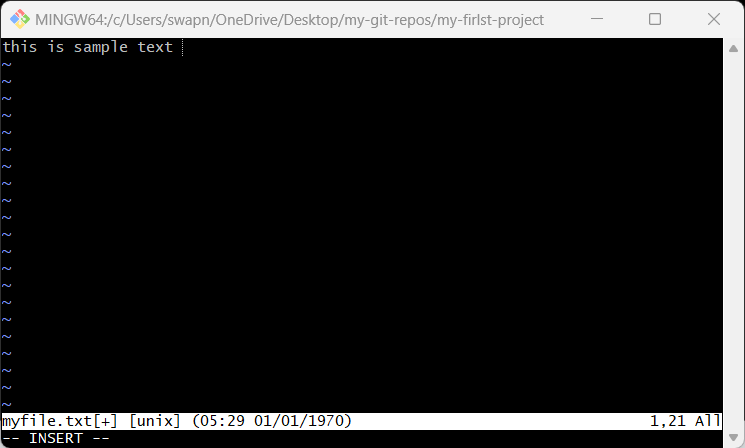
you can use vi command as below to create new file in your folder :
vi myfile.txt
VI command will open and create file for you , press i on keyboard to type inside file , INSERT mode is enabled for you , you can type text :
to save your text , press escape and then type :wq! to save it and press enter :

now enter command :
$ git status
git status command will show you unstaged or untraced file as below image :
to make it staged use command :
$ git add myfile.txt
use dot (.) if there are multiple files ex. git add .
again use git status command : it will show filename in green as below :
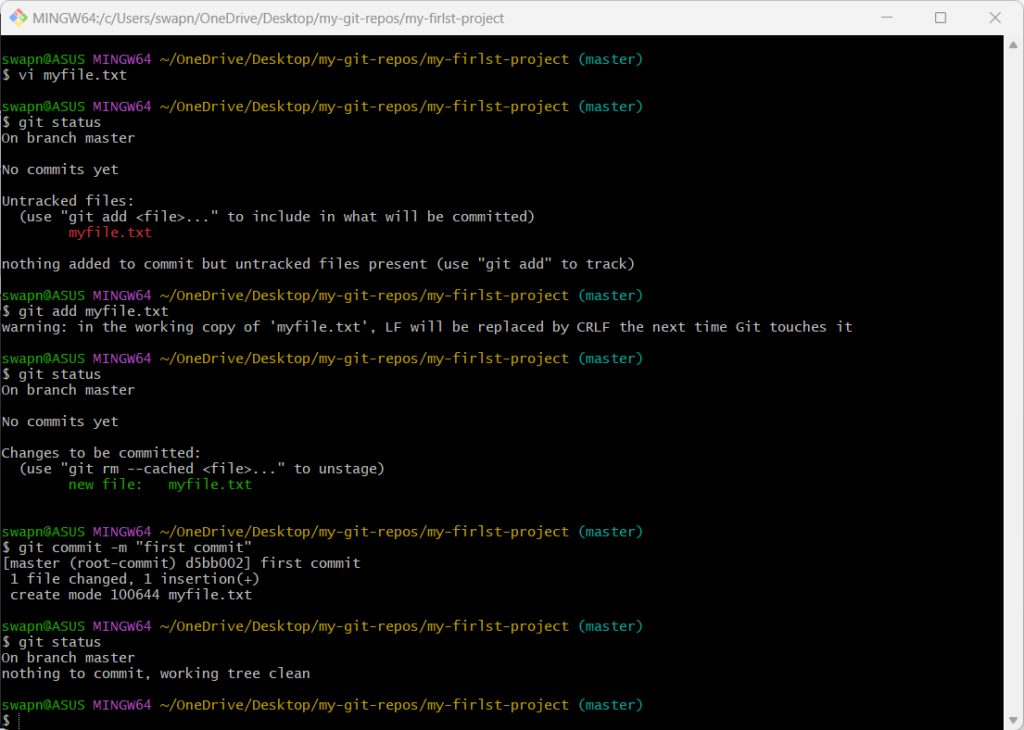
to commit code use command like :
$ git commit -m “first commit”
-m is for message which we are passing in double quote.
Happy Learning…we will learn more in upcoming article …..
Leave a Reply